Yikes! It's been a while since I've posted anything. My apologies. Anyway, today I'll be posting a tutorial or guide on how to dress like a character. This is not, NOT, a casual!cosplay tutorial. I can't tell you how much I loathe casual cosplays. Putting on a wig and wearing a country's flag does not count, no matter where you're from.
But I digress.
For this tutorial I'll be using Loki (Thor movie/comics, but mostly the movie) as an example. I have some mad love for him, and I happen to have quite a bit of black clothing anyway.
So let's get started!
Loki wears green, black, silver and gold. All at once. And he pulls it off like a boss. So those are the main colors I'll be wearing as well.
To start with, I grabbed a pair of dark wash skinny jeans and a black burn-out t-shirt. The jeans are from Target, the shirt is from Express (mad love for that store).
Yes, the shirt is mostly see-through but don't worry! I'll be wearing another shirt over that!
I chose jeans with little metal studs on the pocket to mimic the studs that Loki has on the left side of his costume.
Then I looked at jewelry. Loki has this epic gold necklace. Turns out my dad had given my mom this cool gold/diamond necklace when they were dating, so I borrowed it for this outfit.
Then I grabbed a green shirt to go over my black tee.
Both shirts are Express, but the green one was a Goodwill find and I've never seen another like it. But any dark green shirt can work, depending on how you wear it!
Now we move onto the hair. Sorry for my derp face getting all up in this tutorial, but it was kind of necessary. Loki's hair is slicked back, so I mimicked that by pulling it into a half pony tail so that the hair pulled away from my face.
After all of that I threw on a black leather jacket and went to school. I mean. I went to Jotunheim. Right? I didn't have time to take a picture because I was running late, but it looked pretty sweet all put together.
Well there you have it! Now you too can dress like Asgard's favorite trickster. Thanks for reading!
Mischief be with you.
Showing posts with label Tutorial. Show all posts
Wednesday, October 12, 2011
Friday, September 23, 2011
Be a Man! A Beginner's Crossplay Tutorial
Hi again! So for this tutorial, I'm going to go through basic crossplay makeup. I used my friend Meech as a model. Meech currently has more crossplays than regular cosplays, so I decided she'd be perfect.
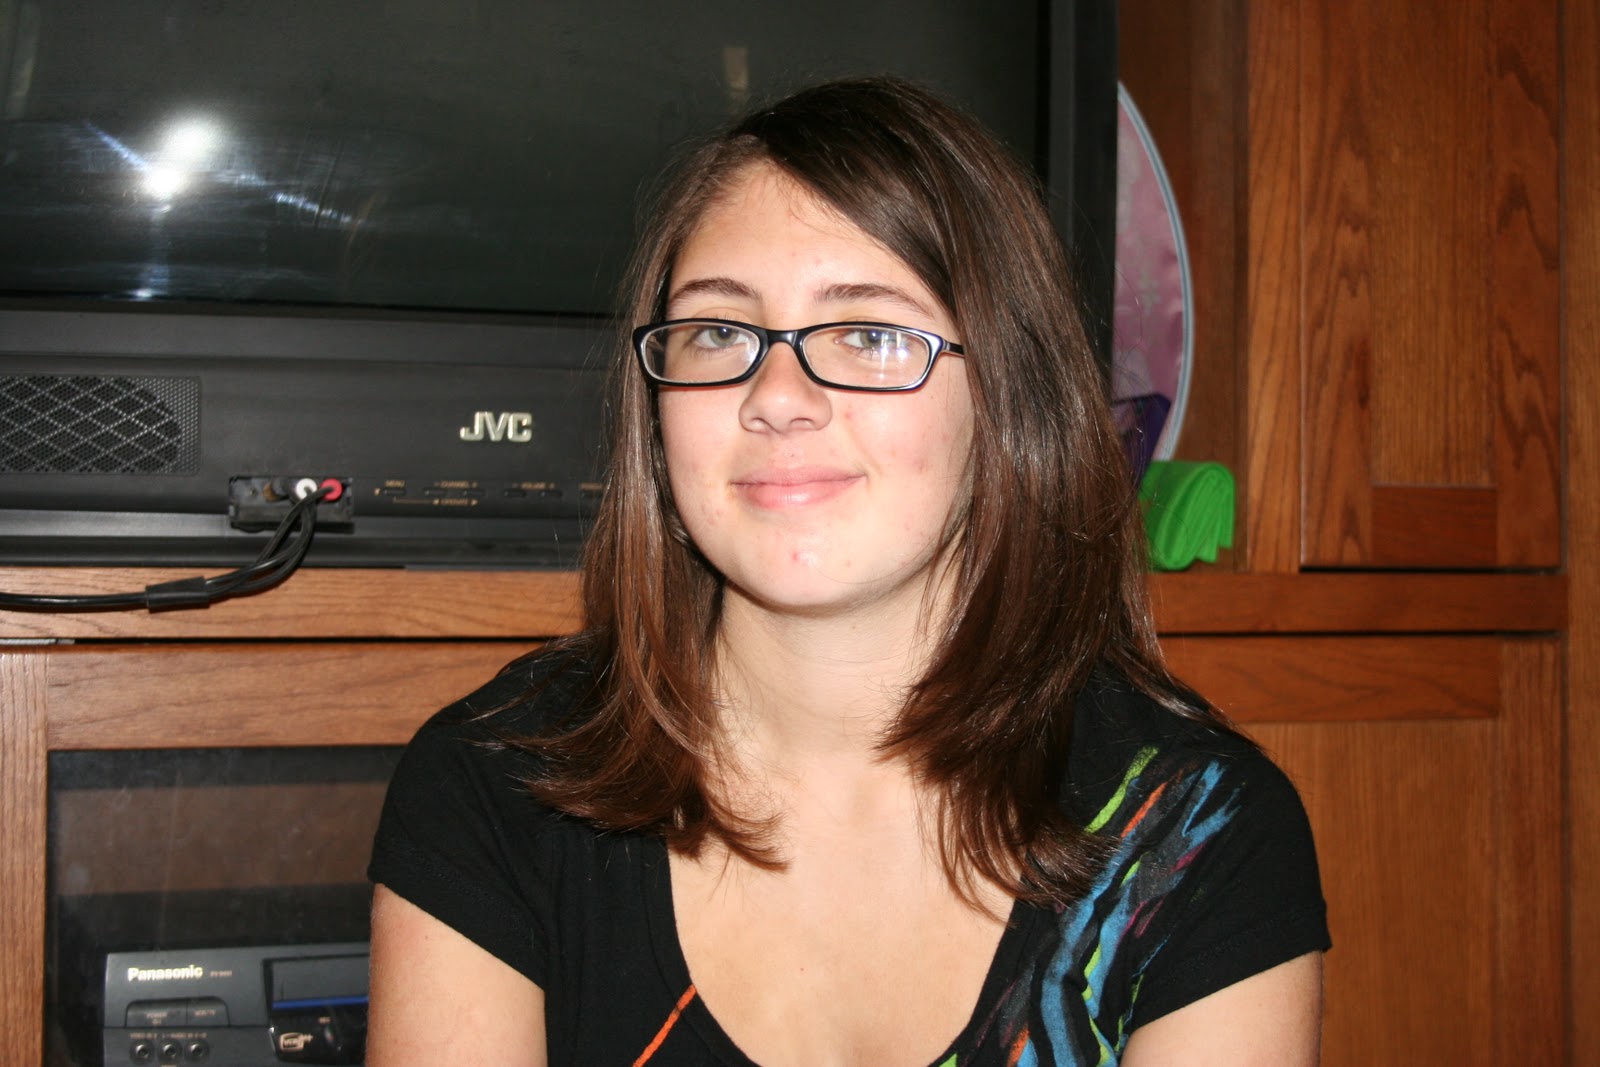
This is Meech normally.
We'll start off with foundation. For cosplaying, I normally use a lot of makeup because you'll want everything to look fantastic and as flawless as possible. So I start off with liquid foundation.
Put the liquid foundation all over the face and blend. Don't worry if it's a little bit sloppy, because this is just the first layer of foundation. After that's all done and blended, you'll move on to the powder. I use mineral powder because it covers well. So brush that on.
Love the brush, Meech. Love it.
Once the foundation is done, we'll start contouring. Contouring can make a huge difference between a feminine face and a more masculine face. I'm not putting too much on Meech, because she's not used to a lot of makeup.
To contour, put either bronzer or a foundation at least two shades darker than your skin tone on your cheeks/jawline, your temples, and along the sides of your nose (from the tip to the eyebrows). The key will be to make your features more angular than normal. Once you're put the bronzer/foundation on, blend it. You can use pretty much any brush to do this, but I normally use my foundation brush.
Now you'll want to use either a brow pencil or eye shadow ((or sometimes both)) to thicken and shape the eyebrows. If you look at boys, they don't often attend to their eyebrows so you can go ahead and thicken them quite a bit. Go ahead and put some liquid foundation on the lips to take away the girly color.
Now go ahead and put on your boy wig! And remember, if you find you don't look manly enough, you can always go back and add more contouring/highlighting.
Stay tuned for a binding tutorial, coming soon!
<3 Kandell
This is Meech normally.
We'll start off with foundation. For cosplaying, I normally use a lot of makeup because you'll want everything to look fantastic and as flawless as possible. So I start off with liquid foundation.
Put the liquid foundation all over the face and blend. Don't worry if it's a little bit sloppy, because this is just the first layer of foundation. After that's all done and blended, you'll move on to the powder. I use mineral powder because it covers well. So brush that on.
Love the brush, Meech. Love it.
Once the foundation is done, we'll start contouring. Contouring can make a huge difference between a feminine face and a more masculine face. I'm not putting too much on Meech, because she's not used to a lot of makeup.
To contour, put either bronzer or a foundation at least two shades darker than your skin tone on your cheeks/jawline, your temples, and along the sides of your nose (from the tip to the eyebrows). The key will be to make your features more angular than normal. Once you're put the bronzer/foundation on, blend it. You can use pretty much any brush to do this, but I normally use my foundation brush.
Now you'll want to use either a brow pencil or eye shadow ((or sometimes both)) to thicken and shape the eyebrows. If you look at boys, they don't often attend to their eyebrows so you can go ahead and thicken them quite a bit. Go ahead and put some liquid foundation on the lips to take away the girly color.
Now go ahead and put on your boy wig! And remember, if you find you don't look manly enough, you can always go back and add more contouring/highlighting.
Stay tuned for a binding tutorial, coming soon!
<3 Kandell
Wednesday, September 7, 2011
Sheeta and Pazu - Laputa: Castle in the Sky
If you're an anime fan like I am, you've probably heard of Hayao Miyazaki. He's the brain behind animated feature films such as Spirited Away, Howl's Moving Castle, Baron: the Cat Returns, and one of my favorites, Castle in the Sky. For Anime Iowa 2011, a friend of mine wanted to do a simple cosplay as he didn't have any sewing experience. I immediately thought of Pazu, the male lead. Since watching the movie I had wanted to cosplay Sheeta, so I decided AI was a perfect opportunity. Most of Sheeta's costumes are quite simple; there's the purple dress she wears in the beginning, very simple to Kiki from Kiki's Delivery Service, and a boy's outfit she wears when trying to evade pirates. I chose the pirate outfit she wears during the movie. It consists of coral harem pants, a yellow mock turtle neck with puffed sleeves, red flats, and an orange belt with a silver disc buckle.
For the pants, I found a harem pant pattern on a bellydancing website. All you need to do to make your own pair of Sheeta pants is copy the pattern, altered to fit your measurements. The pants would come to your natural waist, and the ankles of the pants should reach your ankles. Don't be afraid to use a lot of fabric, because if you use cotton like I did, you'll want the volume to make the pants poof out like Sheeta's. Make an elastic casing for the ankles and either do the same for the waist, or make several tucks and sew on a waistband with a button.
Harem Pant Pattern
For the blouse, I used a simple pattern that would fit somewhat loosely, since Sheeta is a young girl and doesn't need a clingy top, and her shirt blossoms over the top of her pants. You'll want to make your blouse long enough to wear with normal pants, so that when you have it blossom out you don't have to worry about keeping it tucked in. That's a mistake I made when I did the shirt. Don't forget to make it fit your measurements, as there aren't any measurements really given on the pattern. The sleeves are a lot easier than I first expected. I'm including the pattern I used. And remember, for all of these you'll have to figure out the measurements on your own. It's a pain, I know, but it's a lot cheaper than buying a pattern for every piece of the costume. Use the middle sleeve pattern in the picture.
Blouse Pattern
Sleeve Pattern

The belt is very simple, it's just a strip of orange fabric with either a small button at the front or a safety pin.
The belt buckle on Sheeta's costume is a rather large silver disc. I used a silver button cover and simply didn't put fabric over it. It was slipped onto a long button pin and glued so it wouldn't slide around. Then you simply pin it to your belt and voila!
The shoe covers are also relatively simple. Pick a pair of extremely comfortable flats and set them on your red fabric. Trace around them with a reasonable seam allowance, and this will be your bottom. Although you'll want to reinforce the fabric on the bottom with something that will give you some traction and keep the fabric from ripping. I ended up using duct tape because I completely forgot about it until the day I wore it and had to get the tape from the convention staff. After you've taken care of the sole, it's time for the sides/top. Lay the shoe on its side and trace it, adding a few inches to the top to accommodate for seams and the fabric reaching to the center. Once you have four identical pieces, stitch them together from the toe to just past the flat's edge, and stitch the heels. Then sew the pieces to the soles, slip the flats inside, and you're done! In the picture, the red zig zags indicate where you'll sew before attaching the tops to the soles. Please forgive the extremely crappy illustration, I'm not exactly an artist....
Shoe Cover "Pattern"

Pazu is much easier. All you need is a white, button up shirt, a brown vest, a tan or brown newsie hat, a pair of goggles, a pair of jeans, and a tan square of fabric for a patch. The shoes are more or less up to you. I'm sure every guy has or has access to a perfect pair of Pazu shoes. If you can't think of where to find any of these things, check out your local Goodwill or other thrift stores. My Pazu's vest was originally a women's jacket that I ripped the sleeves off of and re-hemmed.
Well I hope this helps to get you started! If you have any questions, don't hesitate to comment or message me and ask. For more updates you can keep tabs on my blog or follow me on Twitter at www.twitter.com/k4ndell
For the pants, I found a harem pant pattern on a bellydancing website. All you need to do to make your own pair of Sheeta pants is copy the pattern, altered to fit your measurements. The pants would come to your natural waist, and the ankles of the pants should reach your ankles. Don't be afraid to use a lot of fabric, because if you use cotton like I did, you'll want the volume to make the pants poof out like Sheeta's. Make an elastic casing for the ankles and either do the same for the waist, or make several tucks and sew on a waistband with a button.
Harem Pant Pattern
For the blouse, I used a simple pattern that would fit somewhat loosely, since Sheeta is a young girl and doesn't need a clingy top, and her shirt blossoms over the top of her pants. You'll want to make your blouse long enough to wear with normal pants, so that when you have it blossom out you don't have to worry about keeping it tucked in. That's a mistake I made when I did the shirt. Don't forget to make it fit your measurements, as there aren't any measurements really given on the pattern. The sleeves are a lot easier than I first expected. I'm including the pattern I used. And remember, for all of these you'll have to figure out the measurements on your own. It's a pain, I know, but it's a lot cheaper than buying a pattern for every piece of the costume. Use the middle sleeve pattern in the picture.
Blouse Pattern
Sleeve Pattern

The belt is very simple, it's just a strip of orange fabric with either a small button at the front or a safety pin.
The belt buckle on Sheeta's costume is a rather large silver disc. I used a silver button cover and simply didn't put fabric over it. It was slipped onto a long button pin and glued so it wouldn't slide around. Then you simply pin it to your belt and voila!
The shoe covers are also relatively simple. Pick a pair of extremely comfortable flats and set them on your red fabric. Trace around them with a reasonable seam allowance, and this will be your bottom. Although you'll want to reinforce the fabric on the bottom with something that will give you some traction and keep the fabric from ripping. I ended up using duct tape because I completely forgot about it until the day I wore it and had to get the tape from the convention staff. After you've taken care of the sole, it's time for the sides/top. Lay the shoe on its side and trace it, adding a few inches to the top to accommodate for seams and the fabric reaching to the center. Once you have four identical pieces, stitch them together from the toe to just past the flat's edge, and stitch the heels. Then sew the pieces to the soles, slip the flats inside, and you're done! In the picture, the red zig zags indicate where you'll sew before attaching the tops to the soles. Please forgive the extremely crappy illustration, I'm not exactly an artist....
Shoe Cover "Pattern"

Pazu is much easier. All you need is a white, button up shirt, a brown vest, a tan or brown newsie hat, a pair of goggles, a pair of jeans, and a tan square of fabric for a patch. The shoes are more or less up to you. I'm sure every guy has or has access to a perfect pair of Pazu shoes. If you can't think of where to find any of these things, check out your local Goodwill or other thrift stores. My Pazu's vest was originally a women's jacket that I ripped the sleeves off of and re-hemmed.
Well I hope this helps to get you started! If you have any questions, don't hesitate to comment or message me and ask. For more updates you can keep tabs on my blog or follow me on Twitter at www.twitter.com/k4ndell
Subscribe to:
Posts (Atom)